On a wedding RSVP QR code card, print your names, the date and venue, one line such as "Scan to RSVP by 1 May", the code at least 2.5 cm (1 inch) wide, and the short link under it. The Private Wedding App makes the card for you in your theme's colours, as a 5x7 invitation or a 10 x 7 cm insert card, and the code opens your digital invitation where guests confirm, choose their meal and flag allergies straight into your guest list. $189 once, or $19.99 a month (£159 or £17.99 in the UK, C$249 or C$24.99 in Canada, A$289 or A$29.99 in Australia, AED 699 or AED 74.99 in the UAE). 3-day free trial.
Most guides to QR code RSVPs stop at 'put a QR code on the invitation'. The questions couples actually ask come after that. Does the code go on the main invitation or on a separate little card? What exactly does the card say? How big does the code have to be? What if we are printing our own paper invitations and only need the code? And what does Aunt Margaret see when she points her phone at it? This page answers those, card by card, with what The Private Wedding App prints for you from the QR Print Card tab. For how a QR RSVP works in general, see the companion guide to the QR code wedding RSVP.
Pick the format: the 5x7 invitation or the insert card
There are two honest ways to put an RSVP QR code on paper, and they suit different couples.
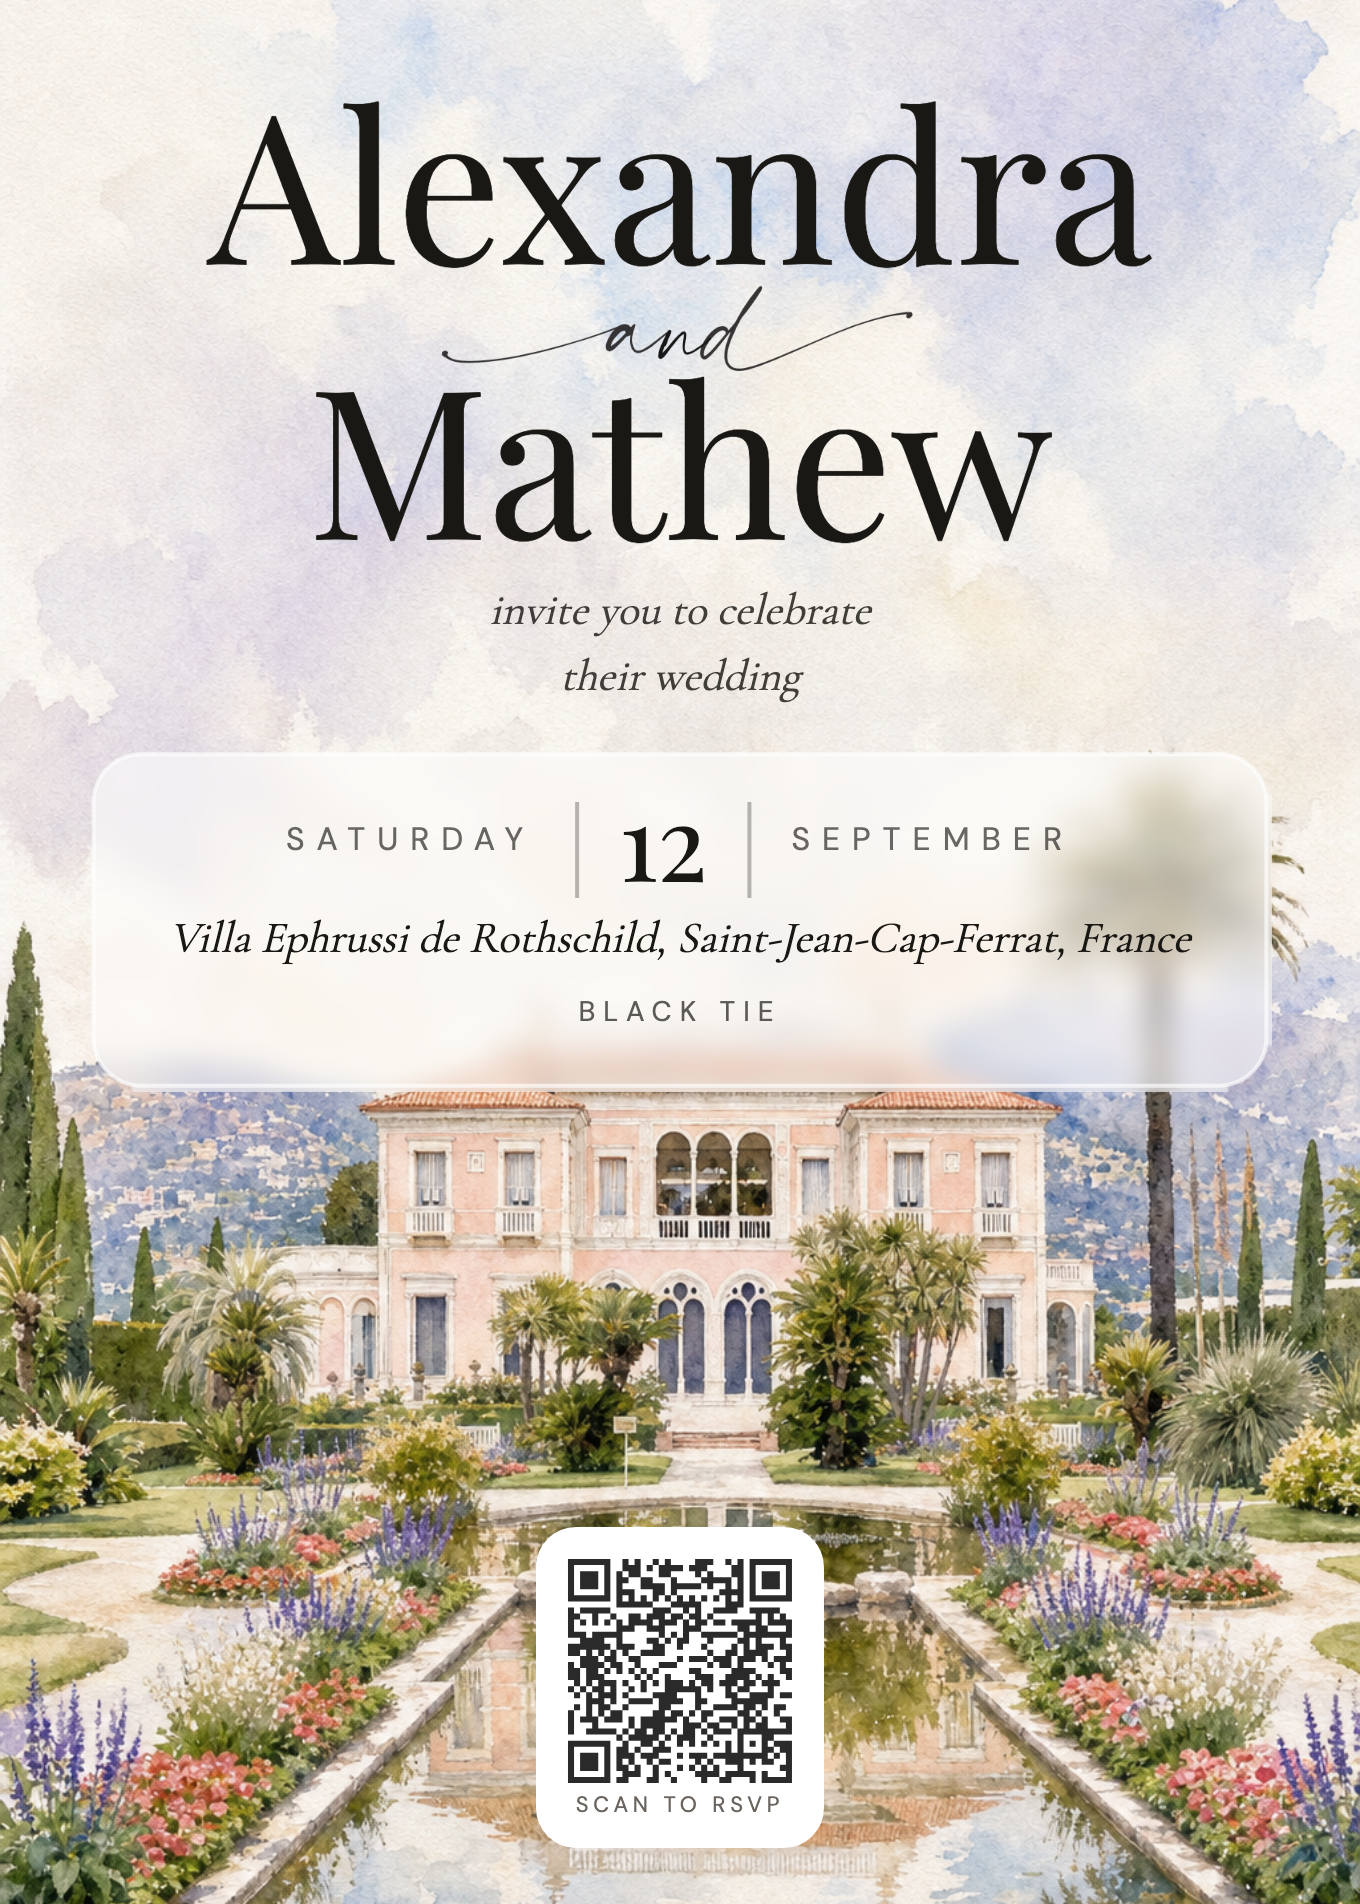
The 5x7 invitation (12.7 x 17.8 cm, portrait) is the printed invitation itself, with the QR code built into the design. It carries your names, the opening line, the date, the venue, an optional dress code and the code. For couples who want one printed piece and the rest online.
The insert card (10 x 7 cm, landscape) is the small card that slips into an envelope with a paper invitation you already love. It reads 'You're invited', your names, the date and venue, and 'Scan QR code to RSVP' next to the code. For couples who are keeping a letterpress or stationer's suite and replacing only the reply card.
In The Private Wedding App both live in the builder's QR Print Card tab, side by side: tap one and the preview switches.
How the scan becomes a reply: the QR code wedding RSVP, explained.
What the card says, line by line
Whatever you print, keep the card to what a guest needs before they scan. Everything else, the schedule, the hotels, the dress code details, the menu, lives behind the code and can be changed after printing. Paper cannot.
- An opening line: "Together with their families" is the default, change it to your own
- Your names, with a plain & or a script "and" between them
- The date, and the venue with its town
- The dress code, if there is one (5x7 card only, leave it blank to omit it)
- One instruction: "Scan to RSVP", or with your reply-by date, "Kindly reply by 1 May"
- The QR code, and the short link under it for anyone who prefers to type
Make it match the invitation: theme, photo and colours
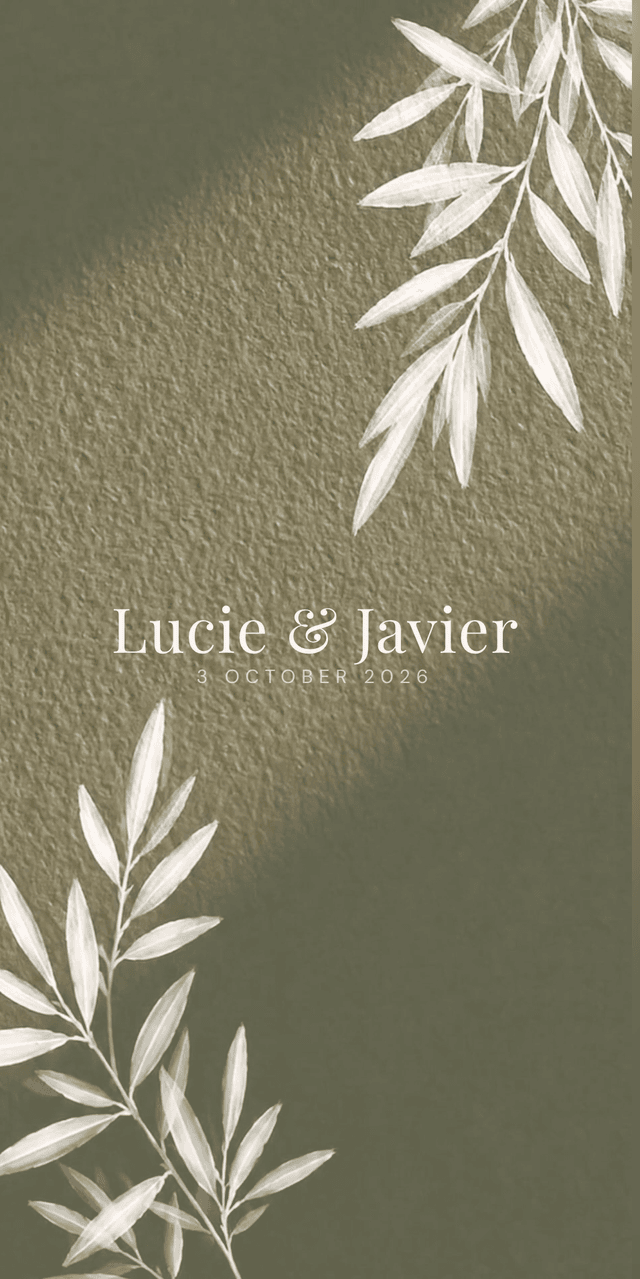
The card starts from your designer theme, so it already carries the invitation's colours, fonts and card photo: apply Sage Green Botanical, Blue Bridgerton or Black & Gold and the printed card changes with it. The card photo is your cover photo by default; upload a different one (up to 20 MB) and set its crop and position, with a dark overlay switch and your own text colour.
For legibility over a photo, the glass effects put a frosted band behind the date, venue and dress code, or behind your names, or both on one card, in white, ivory, terracotta or any colour, with an opacity slider. A small separator (a line, a botanical sprig, an art deco motif or dots) can sit between the names and the details. You drag the names, the details band and the code to place them, and 'Reset positions' puts everything back.
Bilingual wedding? Print one card per language: the same tab switches the card to your second or third invitation language.
Every theme, with its printed card: invitation themes.
The QR code itself: size, style and the test that matters
The code on the card is your invitation's private link, the same one you send by WhatsApp or email, so a printed code and a forwarded link land on the same RSVP. On the 5x7 card it sits in a white box by default, the most reliable option to scan. 'White, no background' prints white modules straight onto a dark design: elegant on a black or navy card, but scan the preview with your phone before printing.
Print the code no smaller than about 2.5 cm (1 inch) square. Keep it flat, away from folds and foil, with clear space around it. Then do the only test that matters: print one card at home, at 100% scale, and scan it with an old phone in dim light.
What happens once it is scanned is on QR code RSVP.
Printing it: at home, at a print shop, or as stickers
'Download PNG' gives you a high-resolution file at the card's real size, the best option for thick card stock or a print shop. 'Print' sends only the card to your printer at true size: keep scaling at 100% and switch background graphics on in the print dialogue, or the browser drops the photo or colour.
Making your own paper invitations, or using a stationer's design? 'Download sticker sheet (12 per page)' gives you twelve identical 2-inch (5 cm) QR stickers on one US Letter page at 300 dpi. Print on square label sheets, peel, and stick one on each invitation or envelope.
What guests see after they scan
The scan opens your digital invitation on their phone, starting with your theme's opening (an envelope with a wax seal, doors, a watercolour scene) and then the cover with your names, the date and a Confirm Attendance button. On a bilingual invitation they pick their language once and everything after it is in that language.
The RSVP asks what you chose to ask: their name and email, attending or not, each person in their party with their own answer, the meal choice with your menu descriptions, dietary notes and a severe-allergy question, plus-ones if you allow them (up to 3 by default, or a set number per guest), and optionally a song request and a note for you. After sending, they see your thank-you message and, if they gave an email, receive a confirmation.
Every answer lands in your guest list at once, with meal counts and a red flag on any severe allergy, ready for the seating chart and the caterer's day sheet. Guests who change their minds scan again and send a new answer, which replaces the old one instead of creating a duplicate.
Meals and allergies in detail: meal and allergy tracker.
The reply-by date: what to print and what it does
Print the reply-by date on the card, usually 4 to 6 weeks before the wedding, and set the same date in the RSVP Settings tab. On the invitation it shows as a reply-by line, which disappears once the date has passed. It does not lock the form: late replies still come in until you switch 'RSVPs are open' off, which is usually what you want when a cousin answers two days late.
To chase the people who have not answered, switch on 'Remind guests who haven't replied by email' (off by default): guests with an email who are still pending get at most two reminders before the date, and the WhatsApp button on each guest row covers everyone else.
Timing in detail: when to send invitations and set the RSVP deadline.
Everything you need, in one place
Planning your own wedding without a planner is entirely achievable.
See it for yourself.
Explore the whole platform: cinematic invitation, RSVP with meals and allergies, guest list, seating chart, budget, vendors, checklist, moodboard, photo sharing and the AI planner. No account needed.
Try the full planner →What should I print on a wedding RSVP QR code card?
Your names, the date, the venue and town, a dress code if any, one instruction such as "Scan to RSVP by 1 May", the QR code and the short link under it. Keep the schedule, hotels and menu behind the code, where you can still change them after printing.
How do I make a QR code card for my wedding RSVP?
In The Private Wedding App, open the builder's QR Print Card tab, choose the 5x7 invitation or the insert card, adjust the photo and text, and press Download PNG or Print. The card follows your theme's colours and its code opens your invitation with the RSVP. $189 once, or $19.99 a month (£159 or £17.99 in the UK, C$249 or C$24.99 in Canada, A$289 or A$29.99 in Australia, AED 699 or AED 74.99 in the UAE).
What size should the QR code be on a wedding invitation?
At least about 2.5 cm (1 inch) square, dark on light or in a white box, flat and away from folds or foil. Print one test card at 100% scale and scan it with an older phone before ordering the rest.
Can I add a QR code to invitations I already bought?
Yes. Print the 10 x 7 cm insert card to slip into the envelope, or download the sticker sheet: twelve 2-inch QR stickers on one US Letter page to stick on each invitation.
What do guests see when they scan the RSVP QR code?
Your digital invitation opens on their phone with your theme's opening, then the cover with a Confirm Attendance button. The RSVP asks attendance, each person in their party, meal choice, dietary notes and allergies, plus-ones if allowed, and optionally a song and a note, and the answer lands in your guest list right away.
Does the RSVP close automatically on the reply-by date?
No. The reply-by line disappears from the invitation after the date, but late replies still arrive until you switch 'RSVPs are open' off in the RSVP Settings tab. Optional reminder emails go to pending guests before the date.
Can I print the card in two languages?
Yes. On a bilingual or trilingual invitation, the QR Print Card tab switches the card to each language, so you print one version per side of the family.